Step-by-Step Guide: How to Install a Ceramic Wall Hung Toilet at Home
Installing a ceramic wall hung toilet in your home can upgrade your bathroom’s style and efficiency. With the right tools and a clear plan, this project is achievable even for DIY enthusiasts. Here’s a detailed, step-by-step guide to help you install a wall hung toilet while ensuring it is anti-stain, stable and durable, space-saving, and features quiet and powerful flushing along with water efficiency.
1. Planning and Preparation
Before installation, select a high-quality ceramic wall hung toilet with an anti-stain surface. Measure your bathroom carefully to ensure the toilet fits well and provides a space-saving solution. Review the manufacturer’s instructions, as different models might require specific installation steps for stable and durable mounting.
2. Choosing the Right Location
Identify a suitable wall—preferably a load-bearing one—to mount the toilet. This is crucial for stability and durability, as the wall will support the fixture and the user’s weight. An ideal spot should also maximize space-saving benefits, especially in smaller bathrooms.
3. Installing the Carrier Frame
Install a metal carrier frame inside the wall cavity. This frame is the backbone of your ceramic wall hung toilet and ensures it remains stable and durable for years. Secure the frame tightly, making sure it aligns with the plumbing and drainage connections. This step also contributes to anti-stain performance by preventing leaks that can cause staining.
4. Plumbing and Water Connections
Connect the water supply to the frame according to the manufacturer's guidelines. Opt for components designed for water efficiency, ensuring that your new toilet uses less water without sacrificing performance. Proper installation guarantees quiet and powerful flushing, a must-have for modern bathrooms.
5. Fixing the Toilet Bowl
Once the frame and plumbing are in place, mount the ceramic wall hung toilet bowl onto the frame’s bolts. Check the level and stability, and tighten all connections. The anti-stain ceramic finish not only keeps the bowl looking new but also simplifies cleaning and maintenance.
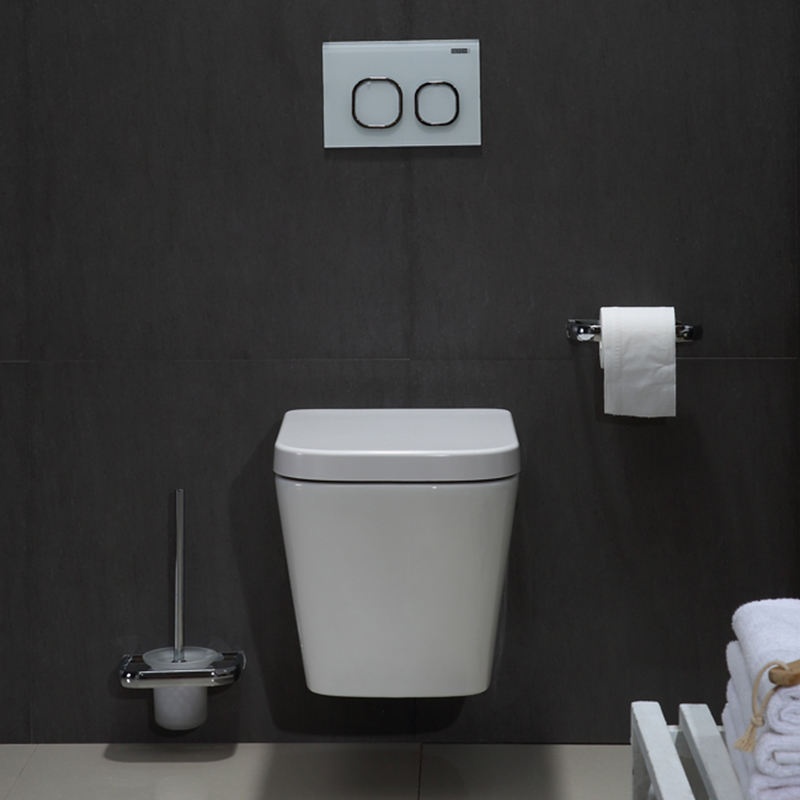
6. Connecting the Flushing System
Install the flush plate and connect it to the concealed cistern. Choose a model that offers quiet and powerful flushing for a peaceful bathroom environment. Many modern systems combine this feature with water efficiency, saving resources and reducing your bills.
7. Testing and Final Adjustments
Test the system for leaks and flush performance. Ensure the ceramic wall hung toilet is stable and durable by sitting on it and checking for any movement. Confirm that the space-saving layout works well in your bathroom and that the anti-stain surface resists dirt and discoloration.
8. Clean Up
Seal any gaps and finish the wall surface. With proper installation, your new wall hung toilet will be anti-stain, stable and durable, space-saving, and provide quiet and powerful flushing along with water efficiency.
Home Installation of Ceramic Wall Hung Toilets: Practical Tips for Lasting Performance
Guia Completo: Como Instalar um Vaso Sanitário Suspenso de Cerâmica em Casa